Basically, I'm a fan of the 15 minute craft. :)
Also in my pinning extravaganza, I saw quite a few tutorials on making fabric flowers. So I thought, why not combine the two and making a fancy t-shirt necklace.
Here's what I needed (note, I included the t-shirt and flower supplies):

The first couple of t-shirts I used were from Goodwill (all t-shirts are $1.92 in my area). The size of the t-shirt will determine how long the necklace will be. If you use an adult X-large or XX-large you will get a necklace that is long enough to double up. For this one, I wanted one that would be decently long, but not so long that I needed to double it up (the larger ones hung down to my waist if they weren't doubled up.) I discovered that if you go to the craft section at Wal-Mart or if you go to Michaels, you can find plain t-shirts in all kinds of colors that are pretty cheap. This green one is a child's small t-shirt from Michaels that cost $2.50. Or just look in your closet and find one you don't wear anymore, then it will be free. :) This is a particularly nice way to reuse a shirt that has stains on it, because (as long as they are small) you won't notice them at all.


Once you've picked your shirt, it's time to start cutting it up!
First cut off the hem at the bottom:

Next, start cutting the t-shirt in long strips across the width of the shirt. They don't have to be perfectly straight or the same width, I think mine were about 1 - 1.5 inches. You can vary the width of them to make it a little more interesting.

(That's Millie making a cameo appearance in the background!)
Keep cutting strips until you get to the armpit of the shirt. Of course, how far you can cut will depend on if you have any designs on the back or front of you shirt.
Gather all of the strips you are going to use for the necklace.


Now, you could pretty much wear it just like this if you wanted to, but if you want to secure them, you can take one of the loops and twist it around the others to bind them together.


I like to go back and forth, in kind of a "v" formation. This is what it will look like when you are done:

 |
| (Excuse the mess, I'm messy when I craft.) |

Clearly, the fabric is not perfectly cut, but thankfully, that doesn't matter even a little bit. (My kind of craft!)
I like to put felt on the back of my flowers. A lot of the tutorials you see won't include that step, but I like them to be a little sturdier than just gluing the fabric to itself. Not to mention, when I was just gluing the fabric to itself, I was getting more glue on my fingers than on the flower. Ouch! I think you could probably use fabric glue for this, but hot glue seems to be the best choice.
I cut out a felt circle that was slightly smaller than how large I wanted the flower to be.


And start folding/rolling it to get your flower started:


 | |
| (Sorry for the blurry picture) |

Once you get larger than the felt, you can start gluing the fabric to the flower itself, a little bit of glue near the bottom of the flower is all you need:
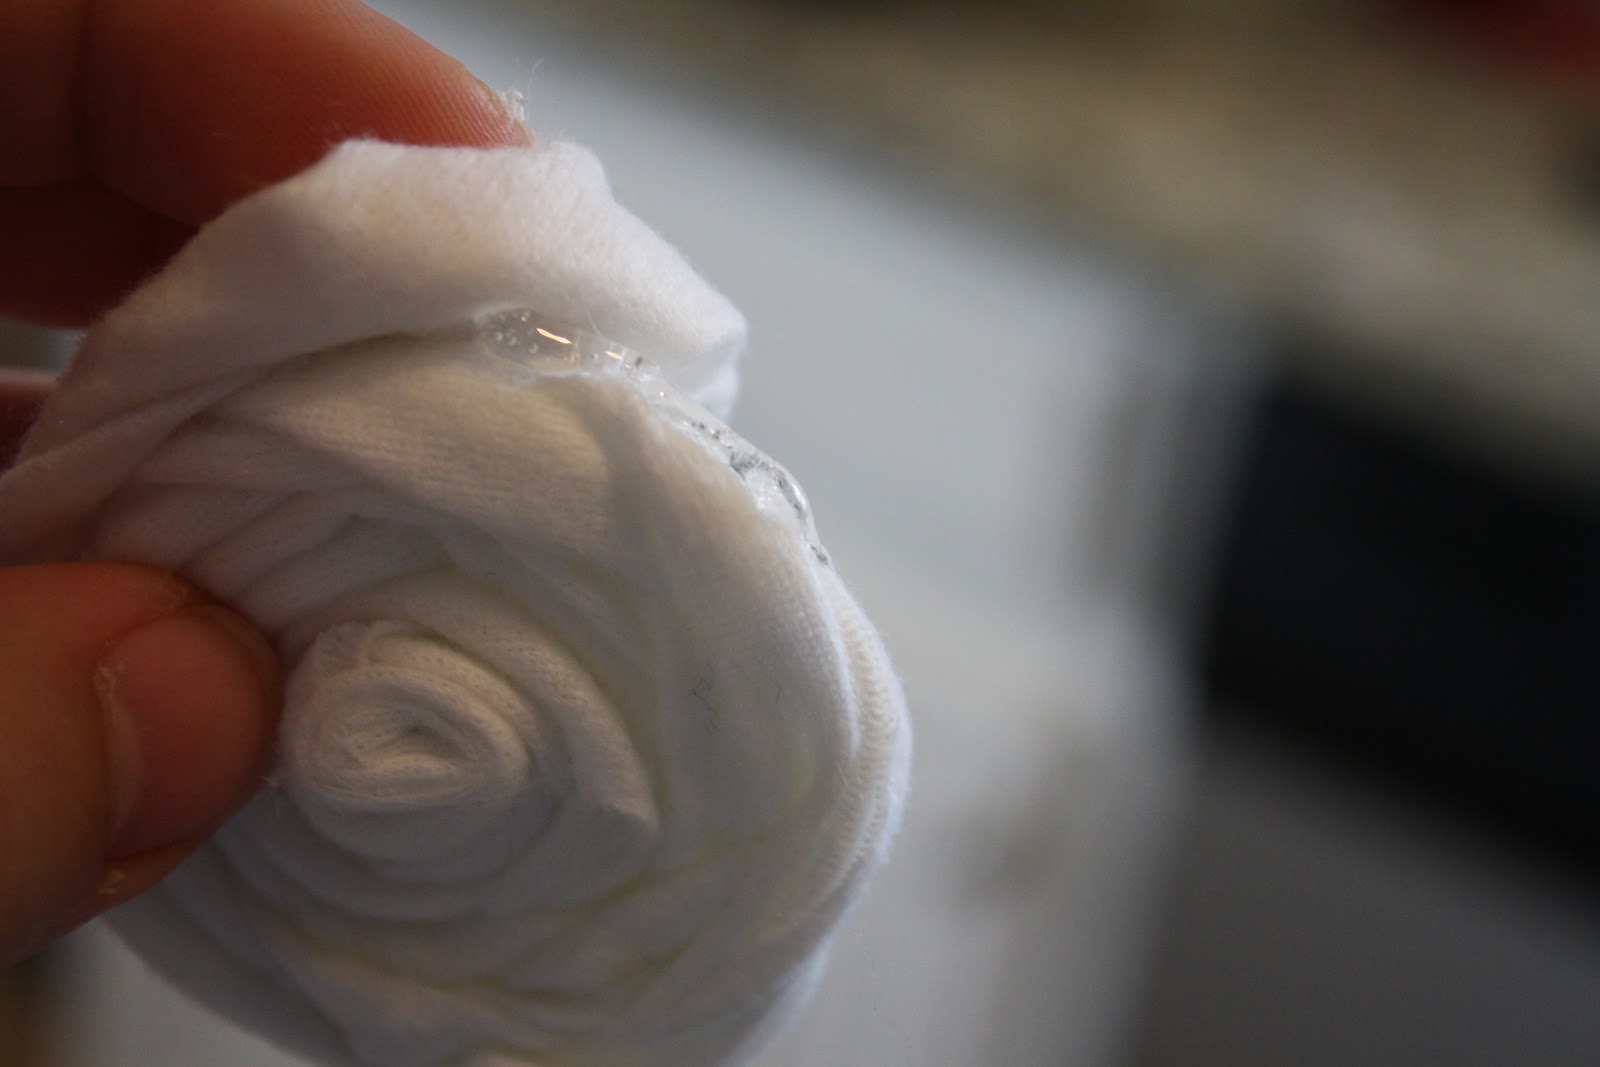
And then when you're done, tuck the end of the fabric strip under your flower and secure with glue:

Here's what it looks like from the front:

So it's not perfectly round. :) I kind of like a more "free-form" flower anyway.
I've used safety pins on the back of flowers to secure it, like this:

But for this one, I thought I would use a little bit of the same fabric as for the flower and tie it to the necklace:
 | ||||
| (I realize this is a green flower, but it's the only one I took a picture of the back.) |
You could stop here with one flower:

Cute, right? But why make just one, when you can make lots!
 |
| (The little flowers are made the same way, just with a shorter strip of fabric. Also, the green flower was made from the hem of the t-shirt. See, don't throw anything away!) |
I think it would also be cute to make it a little Christmas-y with some striped fabric:

Here's the striped flower up close:

A collection of some of the flowers that I (or my sister, Kari) have made:

All of the fabric is either repurposed or from Goodwill. Yay!
Here's another tip: if you start out making a small flower and then decide you want to make a bigger one, easy peasy, just add another strip! Just secure the end of the first strip to the back of the felt (or just underneath the flower) and then start the second strip in the same spot:

Your flower will look exactly the same as if you had cut the strip in the right length in the first place (the larger one on the bottom was the one I added to):


As I was putting things away, I happened to stack the small green one on top of the striped one and it gave me an idea: 2 different strips to make the same flower!

 | ||
| here |
I'd like to give a shout out to all the Pinterest and DIY bloggers out there that inspired these crafts, particularly this one and that one.
So, this was my first blog tutorial. Too many pictures, not enough pictures? Steps clear and easy to follow? I'd love to hear if you have any tricks or tips or ways you've changed it up. xo april
I love this, April! Thanks for sharing!
ReplyDelete